

I think this week was a first, though I'd have to go back through my entire Travel by Stove history to know for sure. But I'm pretty sure I haven't ever done a totally vegetarian meal for this blog before.
Which is almost a little shameful when I think about it, because in poorer nations meat isn't readily available, so vegetarian meals are the norm (though not necessarily by choice). I enjoy meat, though, so I generally don't pick the vegetarian meals.
On paper, El Salvador isn't really poor—it is the third largest economy in Central America. In reality, of course, there is a huge divide between the wealthy and everyone else, with per capita income actually ranking at the fifth lowest in the Western Hemisphere. El Salvador is also the smallest and most densely populated country in Central America--as far as square mileage goes, it has 8,124 of them, which makes it roughly the same size as Massachusetts.
For all that small land area, though, El Salvador has a lot of cool stuff. Of the eight species of sea turtle that exist in the entire world, six of them nest on the El Salvadorian coast. El Salvador is also home to that coolest of wildcats, the ocelot. It has 22 active and inactive volcanoes, (which I suppose is only cool if they aren't posing an immediate danger to people or property). And El Salvador is home to a ton of Mayan ruins, like Tazumal, Joya De Ceren and Casa Blanca.
It probably won't surprise you to hear that the cuisine of El Salvador depends heavily on corn and beans. For my selections this week I didn't actually deviate too far from that, choosing one of El Salvador's most popular dishes as my main course:
Pupusas
Now here I should take note that pupusas aren't always vegetarian. Nor, do I gather, are they usually vegetarian. In fact I originally downloaded a recipe for the pork filling that typically goes inside of them, but decided in the end that I wasn't going to have time to do the pork. Which was fine, because I liked this version, but in the interests of full disclosure there are plenty of other takes on pupusas that aren't strictly vegetarian.
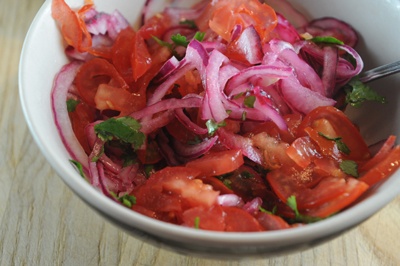
To go with this recipe, I made the Salvadorian salad that you would generally find next to pupusas (this recipe also came from Kitchen Conundrum):
Curtido
Because I was feeling ambitious, I decided to make my own refried beans using the technique I found at Postres de la Cipota, a blog authored by an American who is married to a Salvadorian.
Refried Beans
And some garnish (also from Postres de la Cipota):
Salsa Roja
And now for the finale:
Quesadilla Salvadorena
No! This is not two flour tortillas filled with melted cheese and other random ingredients. No, it is not. Salvadorian quesadillas are totally unique, and nothing like you would get at Chevy's Mexican Restaurant. Or any other Mexican restaurant. In fact, Salvadorian quesadilla is a dessert. Here are the ingredients (also from Postres de la Cipota):
Now another disclaimer: in the original recipe, sour cream and Parmesan cheese are alternative ingredients to the Salvadorian versions (crema and queso duro, respectively). If you can find these in the US, use them, but I don't think it's cheating to use the alternatives since they are evidently pretty similar to the traditional stuff.
So yes! This was another huge time-suck of a meal, but it was worth it. Here goes, starting with the refried beans:
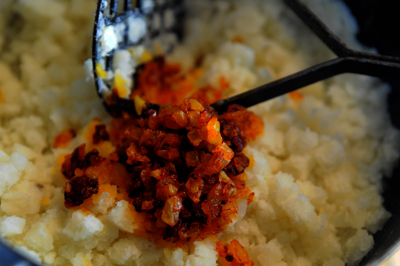
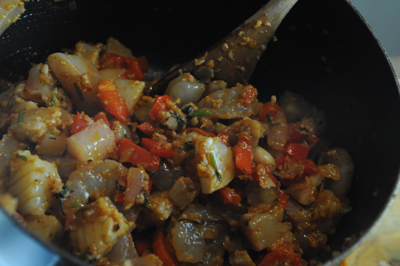
Boil the small red beans with the spices for three hours or until soft, adding more water as necessary. Then drain and remove half of them to a blender (you can add a little water until the puree gets to the right consistency). Mix the pureed beans with the whole beans and cook over low heat for 30 to 40 minutes, stirring occasionally so they don't stick (I added a little oil to my skillet).
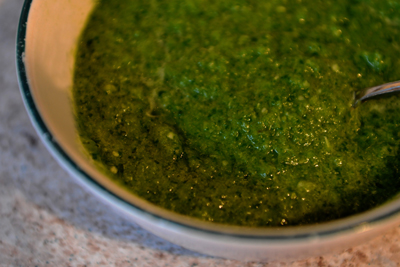
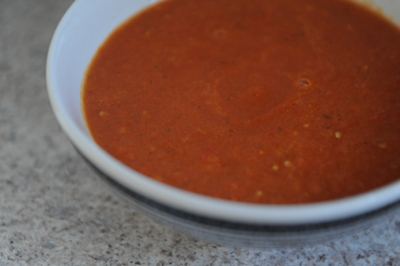
OK, now let's get the red sauce and curtido out of the way:
Put all the ingredients for the salsa roja into a blender and puree until you get a smooth sauce. Transfer to a pot and pour another tbsp of oil over. Heat over a medium-high flame until boiling, then shut off the heat and keep warm until ready to serve.
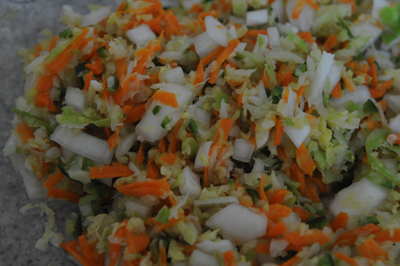
To make the curtido, first boil the water. Put the cabbage and carrots in a heat-proof container and pour the water over. Let stand for 10 minutes, then drain. Try to get out as much of the water as you can.
Transfer the cabbage and carrots to a bowl and add the rest of the ingredients. Let stand at room temperature for at least an hour. Chill and serve.
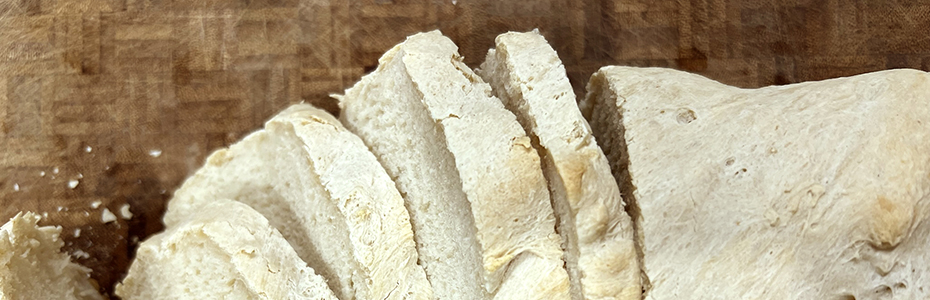
Now for the pupusas:
Put the masa in a bowl and slowly add the water with some salt and pepper. Knead until you get a smooth ball. The dough should not crumble when you handle it—if it does, add more water.
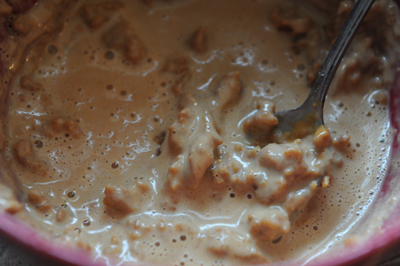
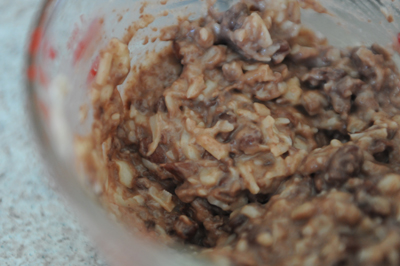
In a separate bowl, mix the cheese with the water and mash it until you get a cheesy paste. Now add the beans and mix well. Add salt and pepper to taste.
Put the vegetable oil on your hands and pick up a golf-ball sized chunk of dough. Roll it into a ball and then make a little well in it with your thumb.
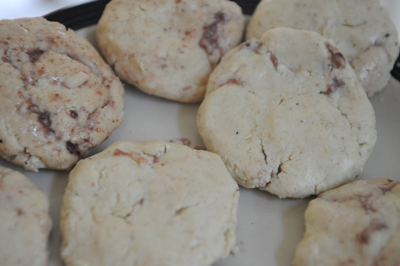
Put a tablespoon of the bean mixture into the well, then seal and flatten into a round patty. Make sure there is plenty of oil on the patty.
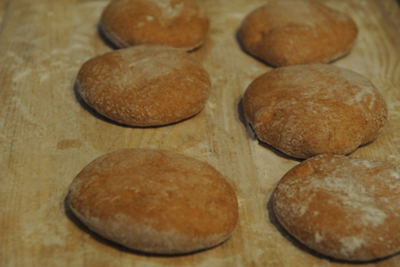
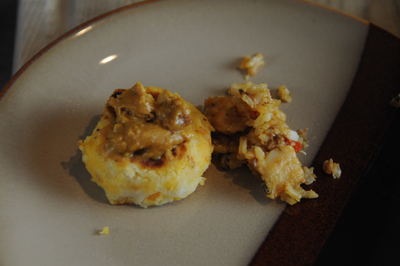
Yes, this is exactly as tricky as it sounds like it is. I had bean and cheese mixture seeping out everywhere. My finished pupusas still tasted fine, so I tried to ignore their ugliness.
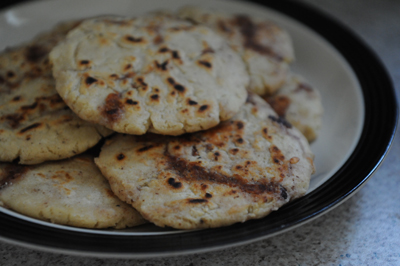
Now heat a large frying pan over a medium flame and add one of the pupusas (if they are well-coated in oil you don't need to add oil to the pan). Fry them until they are golden on both sides, taking care when you turn them. Serve warm with the curtido and salsa.
Now for the quesadilla:
Preheat your oven to 350 degrees.
With an electric mixer, beat the egg whites until firm, but stop before you start to get stiff peaks. Set aside.
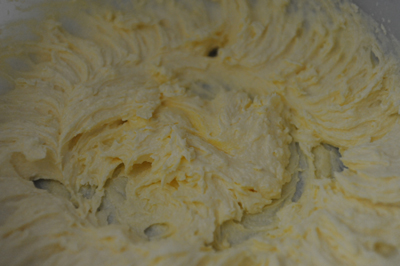
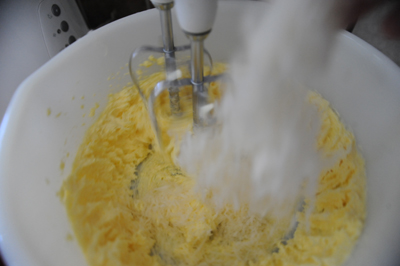
Now use the mixer to cream the butter and sugar until fluffy. One at a time, add the egg yolks. Keep mixing until creamy. Gradually add the cheese.
Remove the bowl from the mixer and fold in the sour cream and baking powder. Sift the flour/Bisquick over the mixture and blend gently until everything is well-incorporated. Then fold in the egg whites.
Pour the batter into a 9x13 inch glass baking dish and sprinkle the sesame seeds on top.
Bake for 38 minutes. Yes, that made me laugh, too. I guess if you were using La Cipota's oven, that's how long you would bake it. In my oven it took more like 45 or 50 minutes. I was worried, too, because the center was still jiggly after about 45 minutes and everything else was turning a deep brown. I was starting to have arepa flashbacks, so I just shut off the oven and left the quesadilla in there while it cooled, which has worked for me in the past when I'm having some trouble getting that center to bake. Fortunately it worked this time, too, and I ended up with nearly perfect quesadilla.
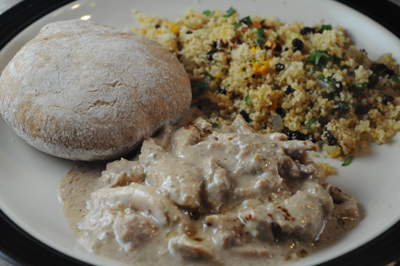
So here's how my no-meat Salvadorian meal went over:
I put the plates down and Hailey looked at hers with suspicion. She asked me what it was and I said "pupusas." She then looked at me with shock and horror and shrieked "It has POO in it??"
OK so I guess I was more than a little dismayed to learn that my daughter thinks my cooking is so bad that it might actually have poo in it, but I had to move on. Here's what everyone else thought:
The kids were split down the middle about the pupusas. My more adventurous kids (Natalie and Henry) ate them and enjoyed them. Dylan and Hailey (obviously) did not eat them. In fact, Hailey declared that I should never again cook another vegetarian meal, because evidently this was the only meatless meal she could even fathom, which tells me I probably ought to be doing Meatless Mondays or something.
I liked them. A lot. And I liked the salsa, too, even though it had nothing spicy in it. The curtido was really good, too, a lot like sauerkraut but not as strong. I figured Dylan, who is a self-professed sauerkraut fan, would enjoy it too but he didn't. Well, there's no predicting what kids will eat I guess.
And now for the quesadilla. Knowing my feelings about cheese, I'm sure you will not be shocked to learn that I loved, loved, loved this dessert. The first bite, though, was really strange. You don't usually expect your dessert to be cheesy, and this was definitely cheesy. It was a strong, salty cheese flavor, too, but it paired surprisingly well with the sweetness of the cake. Even Hailey ate this cake, and when I told her it had cheese in it she did not run screaming from the room but actually asked if she could have another piece.
So that's El Salvador, and I can definitely say I'll be making quesadillas again. In fact I've already shared the recipe with some friends, who were likewise intrigued by the blend of cheese and sweet. I love it when I find a gem.
Next week: England. Yes! My husband's homeland.
For printable versions of this week's recipes:
Which is almost a little shameful when I think about it, because in poorer nations meat isn't readily available, so vegetarian meals are the norm (though not necessarily by choice). I enjoy meat, though, so I generally don't pick the vegetarian meals.
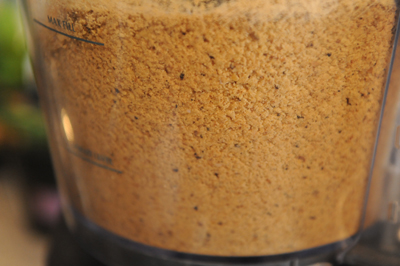
 |
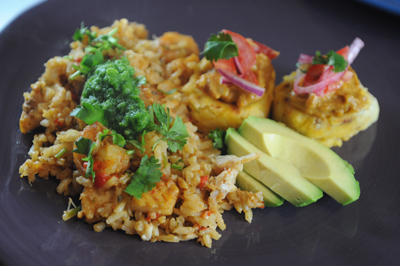
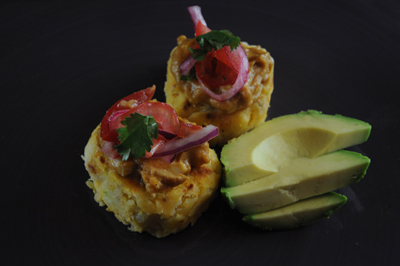
| I do not know what happened to the depth of field in this photo. |
On paper, El Salvador isn't really poor—it is the third largest economy in Central America. In reality, of course, there is a huge divide between the wealthy and everyone else, with per capita income actually ranking at the fifth lowest in the Western Hemisphere. El Salvador is also the smallest and most densely populated country in Central America--as far as square mileage goes, it has 8,124 of them, which makes it roughly the same size as Massachusetts.
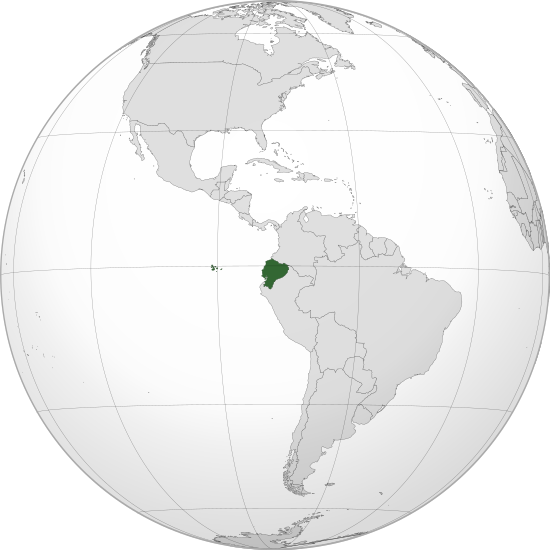
.svg/550px-El_Salvador_(orthographic_projection).svg.png) |
| Do you see that dark spec in Central America? No, it is not dust on your screen--it's El Salvador. |
For all that small land area, though, El Salvador has a lot of cool stuff. Of the eight species of sea turtle that exist in the entire world, six of them nest on the El Salvadorian coast. El Salvador is also home to that coolest of wildcats, the ocelot. It has 22 active and inactive volcanoes, (which I suppose is only cool if they aren't posing an immediate danger to people or property). And El Salvador is home to a ton of Mayan ruins, like Tazumal, Joya De Ceren and Casa Blanca.
 |
| Chalchuapa, Santa Ana, El Salvador. Photo Credit: otrarove via Compfight cc |
It probably won't surprise you to hear that the cuisine of El Salvador depends heavily on corn and beans. For my selections this week I didn't actually deviate too far from that, choosing one of El Salvador's most popular dishes as my main course:
Pupusas
- 3 cup instant masa
- 2 cups water (more if needed)
- Salt and pepper to taste
- 14 oz refried beans
- 1 cup queso fresco or mozzarella, finely grated
- 1 to 2 tbsp water
- Vegetable oil
Now here I should take note that pupusas aren't always vegetarian. Nor, do I gather, are they usually vegetarian. In fact I originally downloaded a recipe for the pork filling that typically goes inside of them, but decided in the end that I wasn't going to have time to do the pork. Which was fine, because I liked this version, but in the interests of full disclosure there are plenty of other takes on pupusas that aren't strictly vegetarian.
To go with this recipe, I made the Salvadorian salad that you would generally find next to pupusas (this recipe also came from Kitchen Conundrum):
Curtido
- 1/2 head of cabbage, shredded
- 1 carrot, peeled and grated
- 4 cups water
- 1/2 onion, diced
- 1/4 cup white vinegar
- 1 jalapeño or Serrano pepper, minced or 1 tbsp red pepper flakes
- 1/2 tsp salt
Because I was feeling ambitious, I decided to make my own refried beans using the technique I found at Postres de la Cipota, a blog authored by an American who is married to a Salvadorian.
Refried Beans
- 1 lb small red beans
- Water to cover
- 1 tbsp cumin
- 1 tbsp black pepper
- Salt to taste
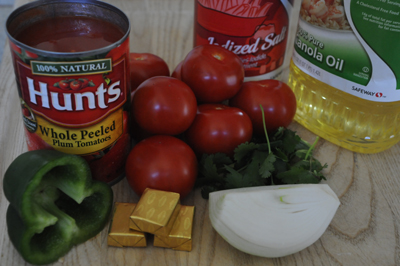
And some garnish (also from Postres de la Cipota):
Salsa Roja
- 8 small, red tomatoes
- 1 can peeled, whole tomatoes
- 1/4 white onion
- 1/4 green bell pepper
- 3 or 4 sprigs of cilantro
- 2 tsp salt
- 2 to 3 tbsp Caldo de Pollo*
- 2 tbsp oil
And now for the finale:
Quesadilla Salvadorena
No! This is not two flour tortillas filled with melted cheese and other random ingredients. No, it is not. Salvadorian quesadillas are totally unique, and nothing like you would get at Chevy's Mexican Restaurant. Or any other Mexican restaurant. In fact, Salvadorian quesadilla is a dessert. Here are the ingredients (also from Postres de la Cipota):
- 1 cup rice flour*
- 1 cup white sugar
- 3/4 cup sour cream
- 4 oz Parmesan cheese
- 3 eggs, separated
- 1 stick salted butter, melted
- 1 tsp baking powder
- Sesame seeds
Now another disclaimer: in the original recipe, sour cream and Parmesan cheese are alternative ingredients to the Salvadorian versions (crema and queso duro, respectively). If you can find these in the US, use them, but I don't think it's cheating to use the alternatives since they are evidently pretty similar to the traditional stuff.
So yes! This was another huge time-suck of a meal, but it was worth it. Here goes, starting with the refried beans:
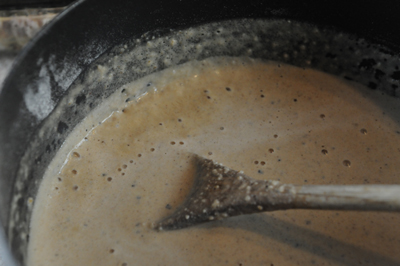
Boil the small red beans with the spices for three hours or until soft, adding more water as necessary. Then drain and remove half of them to a blender (you can add a little water until the puree gets to the right consistency). Mix the pureed beans with the whole beans and cook over low heat for 30 to 40 minutes, stirring occasionally so they don't stick (I added a little oil to my skillet).
 |
 |
 |
 |
Now for the pupusas:
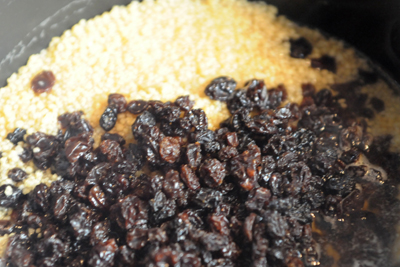
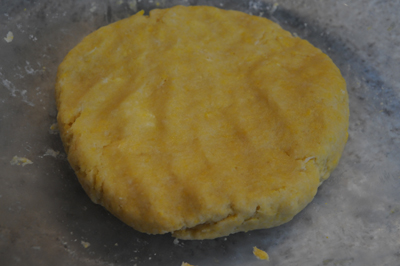
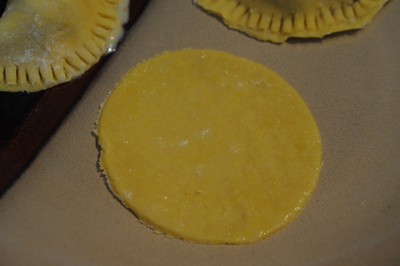
Put the masa in a bowl and slowly add the water with some salt and pepper. Knead until you get a smooth ball. The dough should not crumble when you handle it—if it does, add more water.
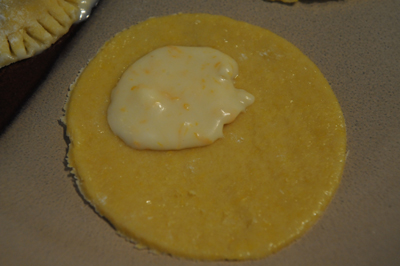
In a separate bowl, mix the cheese with the water and mash it until you get a cheesy paste. Now add the beans and mix well. Add salt and pepper to taste.
 |
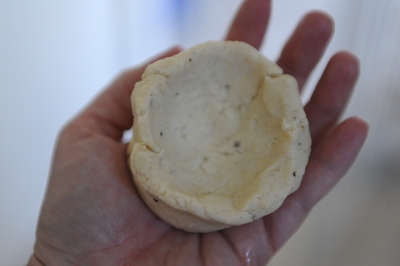 |
| The "well" thing wasn't working out for me, so I made mine into little bowls. |
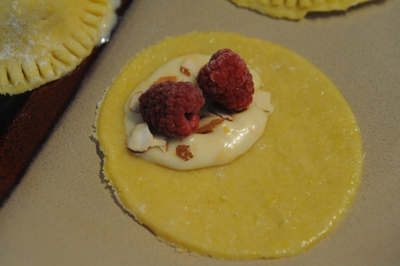
Put a tablespoon of the bean mixture into the well, then seal and flatten into a round patty. Make sure there is plenty of oil on the patty.
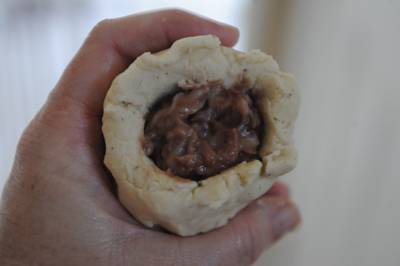 |
| You can probably see what a mess this is going to make. |
 |
 |
Preheat your oven to 350 degrees.
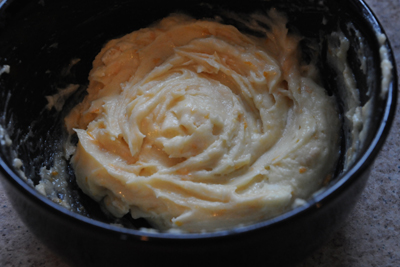
With an electric mixer, beat the egg whites until firm, but stop before you start to get stiff peaks. Set aside.
Now use the mixer to cream the butter and sugar until fluffy. One at a time, add the egg yolks. Keep mixing until creamy. Gradually add the cheese.
 |
 |
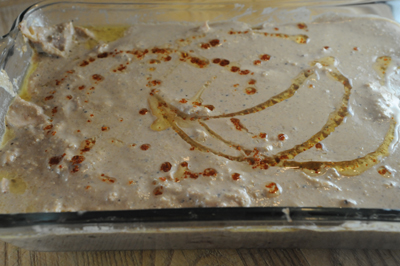
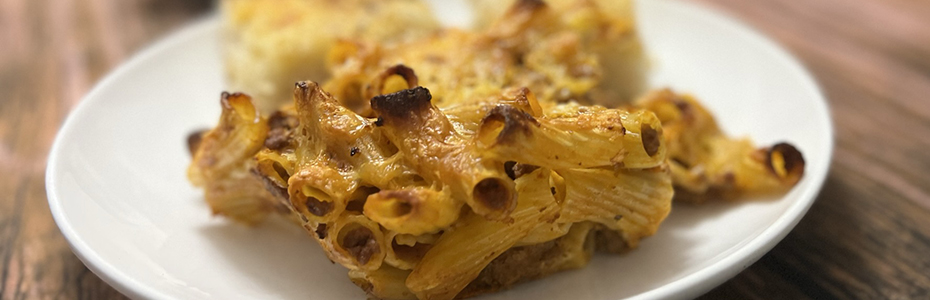
Bake for 38 minutes. Yes, that made me laugh, too. I guess if you were using La Cipota's oven, that's how long you would bake it. In my oven it took more like 45 or 50 minutes. I was worried, too, because the center was still jiggly after about 45 minutes and everything else was turning a deep brown. I was starting to have arepa flashbacks, so I just shut off the oven and left the quesadilla in there while it cooled, which has worked for me in the past when I'm having some trouble getting that center to bake. Fortunately it worked this time, too, and I ended up with nearly perfect quesadilla.
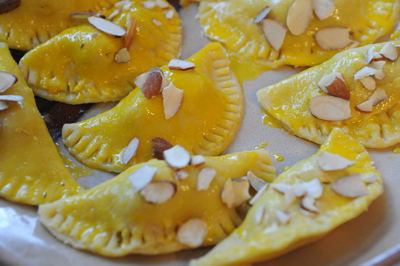
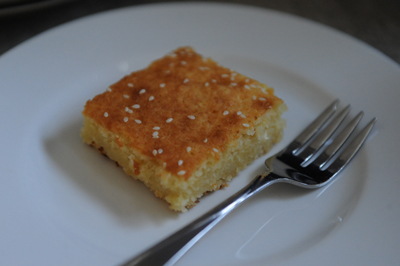 |
| Serious yumminess. |
So here's how my no-meat Salvadorian meal went over:
I put the plates down and Hailey looked at hers with suspicion. She asked me what it was and I said "pupusas." She then looked at me with shock and horror and shrieked "It has POO in it??"
OK so I guess I was more than a little dismayed to learn that my daughter thinks my cooking is so bad that it might actually have poo in it, but I had to move on. Here's what everyone else thought:
The kids were split down the middle about the pupusas. My more adventurous kids (Natalie and Henry) ate them and enjoyed them. Dylan and Hailey (obviously) did not eat them. In fact, Hailey declared that I should never again cook another vegetarian meal, because evidently this was the only meatless meal she could even fathom, which tells me I probably ought to be doing Meatless Mondays or something.
I liked them. A lot. And I liked the salsa, too, even though it had nothing spicy in it. The curtido was really good, too, a lot like sauerkraut but not as strong. I figured Dylan, who is a self-professed sauerkraut fan, would enjoy it too but he didn't. Well, there's no predicting what kids will eat I guess.
And now for the quesadilla. Knowing my feelings about cheese, I'm sure you will not be shocked to learn that I loved, loved, loved this dessert. The first bite, though, was really strange. You don't usually expect your dessert to be cheesy, and this was definitely cheesy. It was a strong, salty cheese flavor, too, but it paired surprisingly well with the sweetness of the cake. Even Hailey ate this cake, and when I told her it had cheese in it she did not run screaming from the room but actually asked if she could have another piece.
So that's El Salvador, and I can definitely say I'll be making quesadillas again. In fact I've already shared the recipe with some friends, who were likewise intrigued by the blend of cheese and sweet. I love it when I find a gem.
Next week: England. Yes! My husband's homeland.
For printable versions of this week's recipes:

.svg/550px-Egypt_(orthographic_projection).svg.png)