I have two rules about what I will and will not ask my children to eat. The first is, I will never ask them to eat fish; not because I don't understand the many health benefits of fish (I do), but because fish is expensive and I hate throwing it in the trash. The second is that I will not ask them to eat spicy food, because that's just mean.
So for the second week in a row, my kids have had to miss out on blog night. Though frankly they don't really care all that much, because blog night never includes mac and cheese, or in Hailey's case, baby carrots dipped in ranch dressing which is pretty much the only thing she eats. Anyway this week it was not the fish that excluded them but the spice, because in Benin they really do like their food with a kick.
Benin is a small county in West Africa, wedged between Togo, which you may have heard of, and Nigeria, which you have almost certainly heard of, and if you haven't then it's because you're probably the only person left in the world who hasn't had a Nigerian prince offer to transfer $27 million into your bank account.

There are about 9 million people living in the 42,000 square miles that comprises the Republic of Benin, which has a pretty tragic history. Between the 17th and 19th centuries, Benin (which was then known as the kingdom of Dahomey) and its surrounding regions were referred to as "The Slave Coast," for reasons I'm sure you can guess. It may surprise you to hear, though, that the 20,000 plus people who were taken from Dahomey each year and forced into the slave trade were not actually captured by slave traders, but were sold to them by Dahomey's king, who earned the tidy sum of £250,000 each year just by selling off his prisoners of war.
After the abolition of the slave trade France took over the country, and just under a century after that Benin became independent. Because of its years of association with France there are some French influences on the cuisine, though for the most part Benin maintains its own unique culinary traditions. Namely, hot chili peppers, peanuts and red palm oil, or some combination thereof.
So this week I chose three recipes, all of which were pretty simple as far as the ingredients were concerned except for the part about red palm oil, which I had to special order. Before I give the recipes, I just want to say one thing about red palm oil: it's weird. Really weird. Like coconut oil, it's semi-solid at room temperature, so you kind of have to spoon it out of the jar, or if it comes in a plastic bottle (as mine did), squeeze it out like you would ketchup from a bottle. And it looks a bit like that, like grainy ketchup. Once you get it into the pan and melt it, it becomes a liquid. But it smells strange. It smells like you took a clump of dirt out of your garden and put it in a fry pan. To be fair, it smells like high-quality dirt, but you know, dirt is dirt as far as something you're really not looking forward to putting in your mouth.
So anyway, with that in mind, all three of these recipes call for red palm oil. Here's the first:
Akkra Funfun
Yes. I chose this recipe because of the name. Because you'd be crazy not to want to try something called "akkra funfun."
And finally: Boulets de Poulet avec Sauce Rouge (Chicken Meatballs with Red Sauce)
The chicken meatballs take some time to come together, so let's start there.
First take about half of the peanut butter and mix it with a little bit of hot water. You want it to still be a paste, but it should be just thin enough so you can stir it. Set aside. (Note: make sure you use an unsweetened peanut butter. "Natural" does not necessarily mean unsweetened. Be sure to read the label.)
Now take the remaining peanut butter, the chicken (dice it first so it will grind easier), the habanero, the green onions and salt and put them in a food processor. Pulse until smooth.
Now, I wasn't completely sure what to do here but since the recipe did not specifically say to remove the skin, I simply removed the bones and put everything else in the food processor (I only used two chicken thighs and a breast since it was just me and Martin). I did have to pull out some bits of skin that just wouldn't grind up ... and take care, because the skin tends to wrap around the grinding mechanism and could cause you to burn out the motor).
When you're done you get a pretty wet, sticky paste that you can make into nice little meatballs and stick in the fridge until you're ready to cook them.
Now blanch your tomatoes. If you don't know how to do this, it's simple: just boil some water and drop your whole tomatoes in it for about a minute. Take them out and run a little cold water over them. Now they will peel really easily. (Personally, this is not something I would usually bother to do since I don't mind tomato skins or seeds, but I wanted to stay true to this recipe.)
Now chop up the onions and toss both the tomatoes and onions with the peanut butter/water paste you made earlier.
Melt your palm oil in a pan. Note: this recipe uses a lot of palm oil and makes for a very oily finished product. If you want to use less, I won't tell.
Fry the meatballs in the palm oil until they are nicely golden all over.
Then add the onion, tomato and peanut butter mixture. Cover the pan and reduce the temperature to low. Simmer for 15 minutes or so, then remove the lid and check the internal temperature of the meatballs (they should be at 165 degrees or higher).
You can keep these simmering on low for a few more minutes if you need your other dishes to catch up. Now on to the rice. Or sauce, because that's really all this is.
Heat the palm oil in a pan, then add the tomato paste, habanero, salt, onion and bouillon.

Cook for two or three minutes, then add the peanut butter and the water. Bring to a boil, reduce heat and simmer for 10 or 15 minutes. Serve over boiled rice.
And finally, the funfun.
Sigh.
So let me just set up the akkra funfun with this little prologue:
I am dumb.
There, I said it. I totally botched the akkra funfun. How? Well as it turns out, 1 1/2 cups of dried white beans is not, in fact the same thing as 1 1/2 cups of canned white beans. Evidently beans actually triple in size once they've been soaked. Who knew? Everyone, probably. Of course in my defense, if I'd taken some time to think this over it probably would have occurred to me that dried beans to canned beans is not a 1:1 kind of a thing, but I never actually think before acting, because, you know, it makes life so much more entertaining.
Anyway, my beans were way too salty, way too wet and way too much of everything else that comes with adding 1/3 as much of the main ingredient that the recipe calls for, while keeping everything else the same. Please everyone, let's hear a resounding "duh."
So if you want to do it right (at least according to this recipe, but the jury is still out on just how "right" the recipe actually is), here we go:
If you're using dried beans, soak them overnight. Then rinse and drain well.
Now put the beans, water and salt into a blender. Pulse until smooth. Then fold in the onions and the cayenne pepper.
Now you should have a pretty thick paste, thicker (hopefully) than this one:
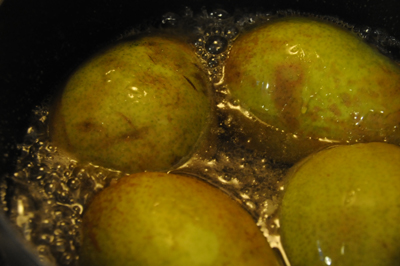
Now heat the oil over a hot flame (check to see if it's ready by dipping the non-stirring end of a wooden spoon into the oil; if bubbles rise around the end then you can start frying). Drop the mixture by teaspoonfuls and let fry until they turn golden brown, then drain on a paper towel. Serve hot. So sayeth the recipe.
Now I don't know what would have happened if I'd got the mixture right, but when I dropped my funfun into the hot oil it disintegrated. It did not make the nice, crispy fritter the instructions had so blissfully declared that it would become. I had to scoop out the disintegrated pulp and press it in a paper towel and shape it into kind of a patty that ended up just tasting like refried beans. Really, really salty refried beans.
So would less water have at least helped them become the right shape? I really don't know. I almost feel like it wouldn't have, because the mixture had nothing to bind it together. Most fritters or deep fried whatever I've done in the past have had flour or eggs or something that helps them hold together in the hot oil. This was mostly just beans.
You know what I'd love is if someone from Benin could fill me in on this recipe ... Maybe it's just not accurate. Or maybe it is, and if I'd gotten everything right I really would have ended up with lovely, crispy golden funfun fritters. Oh well.
Fortunately, though, the funfun did not ruin the meal. Far from it, in fact. The meatballs and the rice were delicious and together definitely landed on my top five list of favorite Travel by Stove meals. And I have to say this really surprised me because as I mentioned earlier, the red palm oil really scared me. But as it turns out, it doesn't taste as weird as it smells.
I'd like to say that the meatballs were totally unique but they reminded me a lot of a pad Thai, only without the coconut milk. And I adore pad Thai. I think chicken and peanuts are a winning combination so this dish already had that going for it, and the habanero was a great touch although to be honest I might use as many as two the next time I make it, because it really didn't seem that spicy to me. My kids probably could have eaten this (though I'm fairly sure they wouldn't have).
The rice was more of the same; peanuts, tomatoes and habanero. Yum, yum, yum. And as for the funfun, well, as I said it was just very salty refried beans. Martin said it was way too salty to eat. Then he ate it anyway.
Next week: Bermuda
For printable versions of this week's recipes:
So for the second week in a row, my kids have had to miss out on blog night. Though frankly they don't really care all that much, because blog night never includes mac and cheese, or in Hailey's case, baby carrots dipped in ranch dressing which is pretty much the only thing she eats. Anyway this week it was not the fish that excluded them but the spice, because in Benin they really do like their food with a kick.
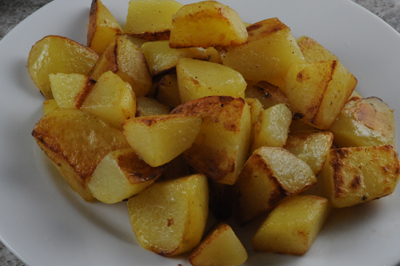
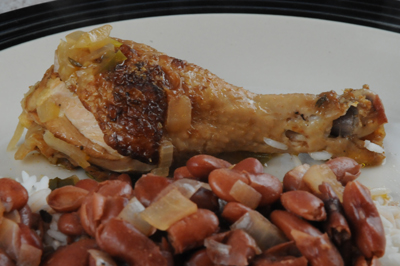
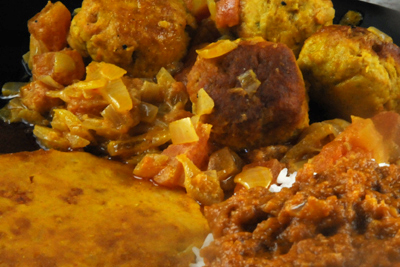 |
| The Beninese really know how to eat. |
Benin is a small county in West Africa, wedged between Togo, which you may have heard of, and Nigeria, which you have almost certainly heard of, and if you haven't then it's because you're probably the only person left in the world who hasn't had a Nigerian prince offer to transfer $27 million into your bank account.

There are about 9 million people living in the 42,000 square miles that comprises the Republic of Benin, which has a pretty tragic history. Between the 17th and 19th centuries, Benin (which was then known as the kingdom of Dahomey) and its surrounding regions were referred to as "The Slave Coast," for reasons I'm sure you can guess. It may surprise you to hear, though, that the 20,000 plus people who were taken from Dahomey each year and forced into the slave trade were not actually captured by slave traders, but were sold to them by Dahomey's king, who earned the tidy sum of £250,000 each year just by selling off his prisoners of war.
After the abolition of the slave trade France took over the country, and just under a century after that Benin became independent. Because of its years of association with France there are some French influences on the cuisine, though for the most part Benin maintains its own unique culinary traditions. Namely, hot chili peppers, peanuts and red palm oil, or some combination thereof.
So this week I chose three recipes, all of which were pretty simple as far as the ingredients were concerned except for the part about red palm oil, which I had to special order. Before I give the recipes, I just want to say one thing about red palm oil: it's weird. Really weird. Like coconut oil, it's semi-solid at room temperature, so you kind of have to spoon it out of the jar, or if it comes in a plastic bottle (as mine did), squeeze it out like you would ketchup from a bottle. And it looks a bit like that, like grainy ketchup. Once you get it into the pan and melt it, it becomes a liquid. But it smells strange. It smells like you took a clump of dirt out of your garden and put it in a fry pan. To be fair, it smells like high-quality dirt, but you know, dirt is dirt as far as something you're really not looking forward to putting in your mouth.
So anyway, with that in mind, all three of these recipes call for red palm oil. Here's the first:
Akkra Funfun
Yes. I chose this recipe because of the name. Because you'd be crazy not to want to try something called "akkra funfun."
- 1 1/2 cup dried white beans
- 1/4 cup water
- 2 tsp salt
- 2 tbsp finely chopped onions
- cayenne pepper, to taste
- oil for frying (two parts peanut oil, one part red palm oil)
- 3 tbsp red palm oil
- 2 tbsp tomato paste
- 1/2 to 1 tsp habanero pepper, minced
- 1/2 tsp salt
- 1 beef bouillon cube or 1 tsp beef bouillon powder
- 1 cup water, more if needed
- 1/2 cup unsweetened peanut butter
- 1/2 cup diced onion
- 3 cups boiled rice
And finally: Boulets de Poulet avec Sauce Rouge (Chicken Meatballs with Red Sauce)
- 1 chicken, cut up and deboned
- 3/4 cup unsweetened peanut butter
- 1 habanero pepper, minced
- 1 bunch of green onions, washed and chopped
- 4 onions, peeled and chopped
- 6 tomatoes, blanched, peeled, de-seeded and chopped
- 1 cup red palm oil
- salt and freshly-ground black pepper to taste
The chicken meatballs take some time to come together, so let's start there.
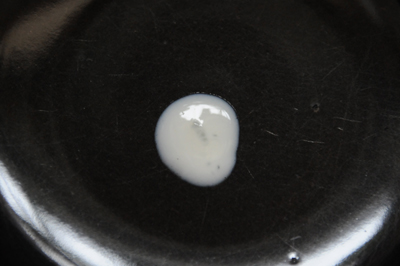
First take about half of the peanut butter and mix it with a little bit of hot water. You want it to still be a paste, but it should be just thin enough so you can stir it. Set aside. (Note: make sure you use an unsweetened peanut butter. "Natural" does not necessarily mean unsweetened. Be sure to read the label.)
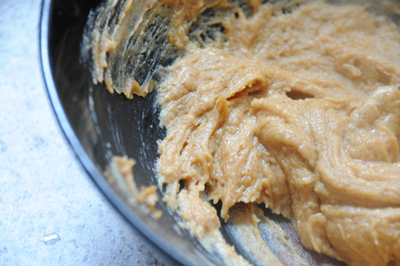 |
| Mix just enough water with the peanut butter to make it look like this. |
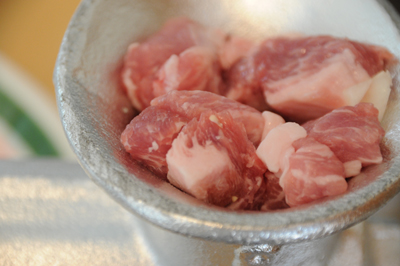
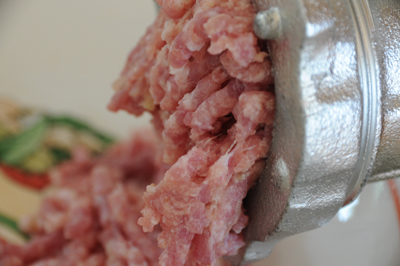
Now take the remaining peanut butter, the chicken (dice it first so it will grind easier), the habanero, the green onions and salt and put them in a food processor. Pulse until smooth.
Now, I wasn't completely sure what to do here but since the recipe did not specifically say to remove the skin, I simply removed the bones and put everything else in the food processor (I only used two chicken thighs and a breast since it was just me and Martin). I did have to pull out some bits of skin that just wouldn't grind up ... and take care, because the skin tends to wrap around the grinding mechanism and could cause you to burn out the motor).
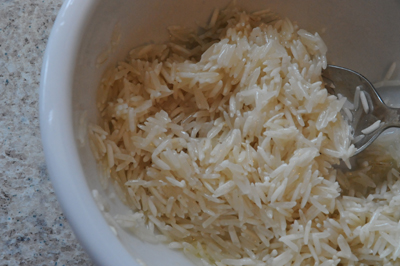
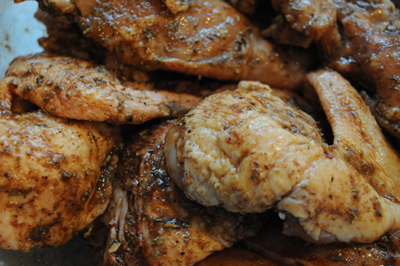
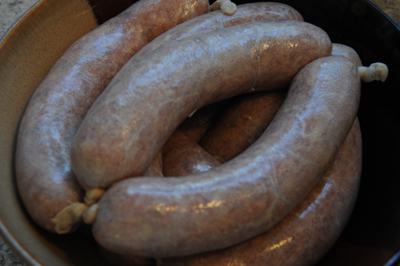
When you're done you get a pretty wet, sticky paste that you can make into nice little meatballs and stick in the fridge until you're ready to cook them.
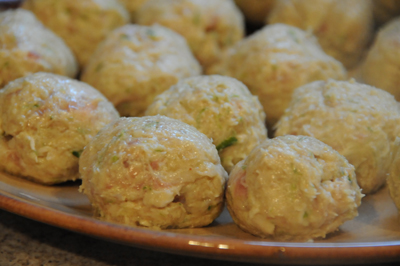 |
| These meatballs are ready to go. |
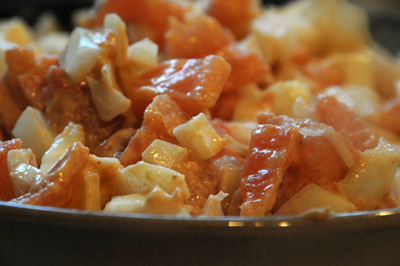
Now blanch your tomatoes. If you don't know how to do this, it's simple: just boil some water and drop your whole tomatoes in it for about a minute. Take them out and run a little cold water over them. Now they will peel really easily. (Personally, this is not something I would usually bother to do since I don't mind tomato skins or seeds, but I wanted to stay true to this recipe.)
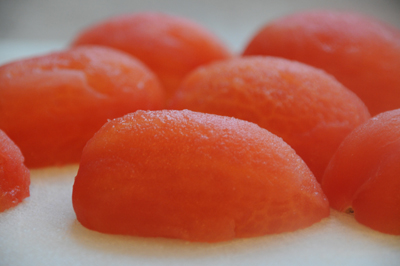 |
| Blanched, peeled and de-seeded tomatoes. |
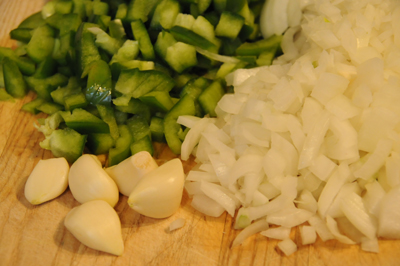
Now chop up the onions and toss both the tomatoes and onions with the peanut butter/water paste you made earlier.
 |
| Toss the tomatoes and onions with the diluted peanut butter. |
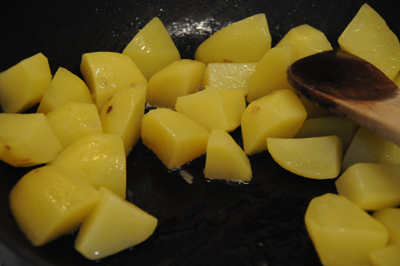
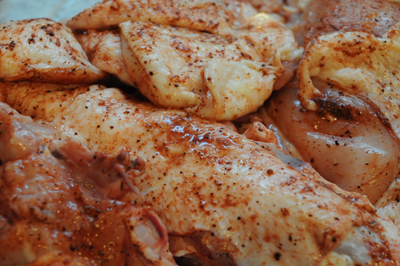
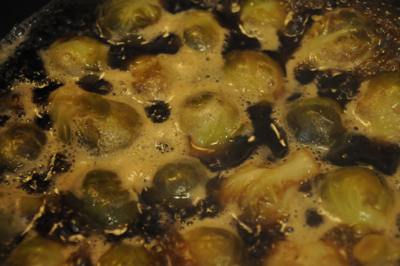
Melt your palm oil in a pan. Note: this recipe uses a lot of palm oil and makes for a very oily finished product. If you want to use less, I won't tell.
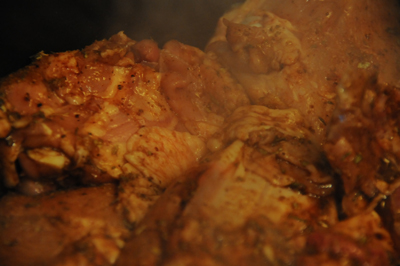
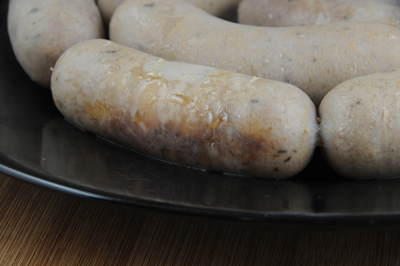
Fry the meatballs in the palm oil until they are nicely golden all over.
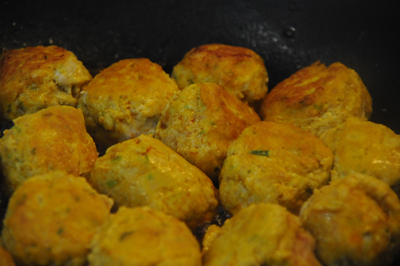 |
| Now fry the meatballs in the palm oil (this recipe could probably tolerate less palm oil) |
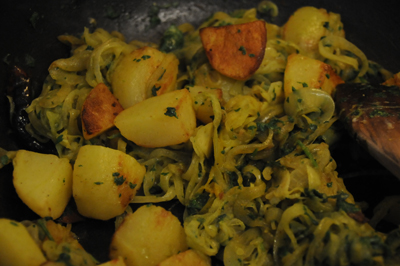
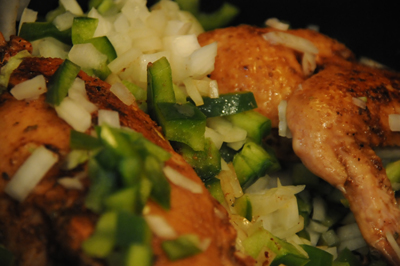
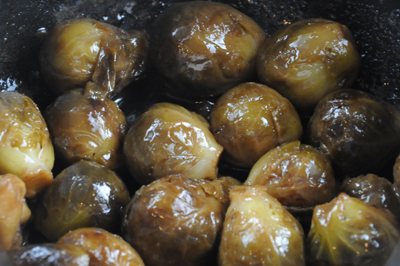
Then add the onion, tomato and peanut butter mixture. Cover the pan and reduce the temperature to low. Simmer for 15 minutes or so, then remove the lid and check the internal temperature of the meatballs (they should be at 165 degrees or higher).
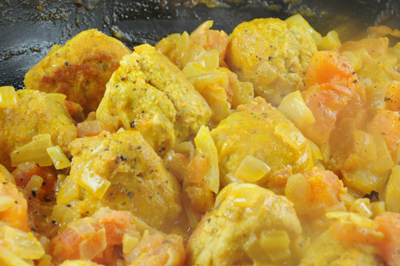 |
| Add the onions and tomatoes to the pot. |
You can keep these simmering on low for a few more minutes if you need your other dishes to catch up. Now on to the rice. Or sauce, because that's really all this is.
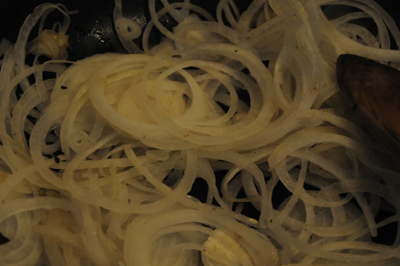
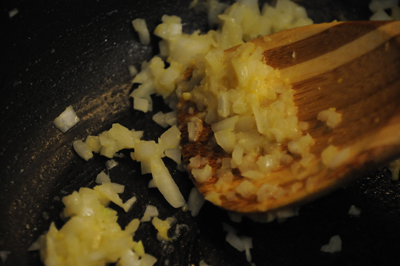
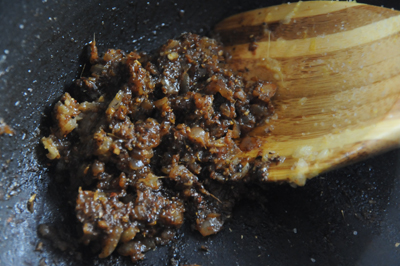
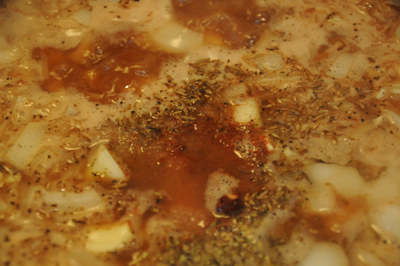
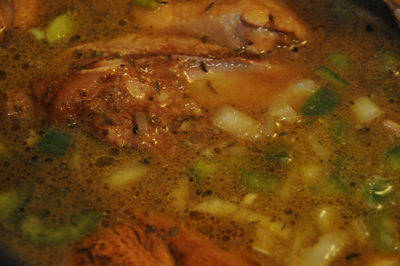
Heat the palm oil in a pan, then add the tomato paste, habanero, salt, onion and bouillon.

Cook for two or three minutes, then add the peanut butter and the water. Bring to a boil, reduce heat and simmer for 10 or 15 minutes. Serve over boiled rice.
 |
| That's pretty much all there is to it. |
And finally, the funfun.
Sigh.
So let me just set up the akkra funfun with this little prologue:
I am dumb.
There, I said it. I totally botched the akkra funfun. How? Well as it turns out, 1 1/2 cups of dried white beans is not, in fact the same thing as 1 1/2 cups of canned white beans. Evidently beans actually triple in size once they've been soaked. Who knew? Everyone, probably. Of course in my defense, if I'd taken some time to think this over it probably would have occurred to me that dried beans to canned beans is not a 1:1 kind of a thing, but I never actually think before acting, because, you know, it makes life so much more entertaining.
Anyway, my beans were way too salty, way too wet and way too much of everything else that comes with adding 1/3 as much of the main ingredient that the recipe calls for, while keeping everything else the same. Please everyone, let's hear a resounding "duh."
So if you want to do it right (at least according to this recipe, but the jury is still out on just how "right" the recipe actually is), here we go:
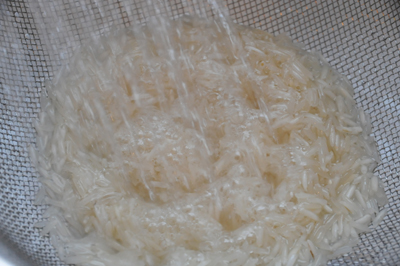
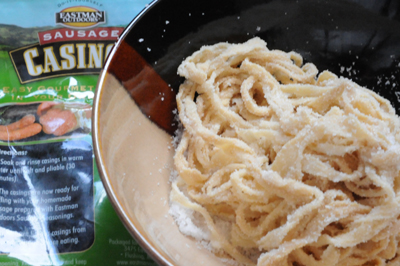
If you're using dried beans, soak them overnight. Then rinse and drain well.
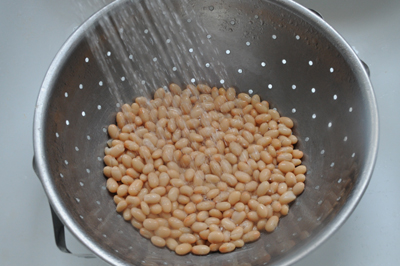 |
| Wash the beans. Imagine that this is a picture of about three times as many beans. |
Now put the beans, water and salt into a blender. Pulse until smooth. Then fold in the onions and the cayenne pepper.
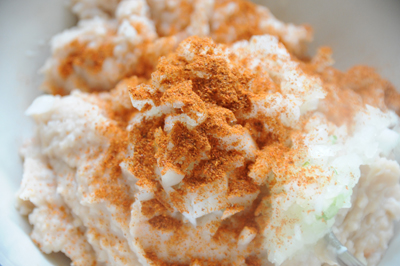 |
| Fold in the onion and cayenne pepper. |
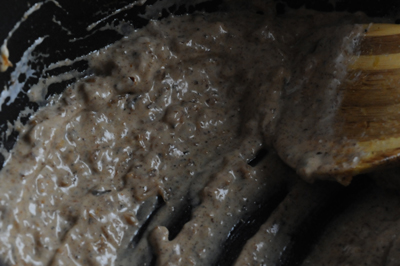
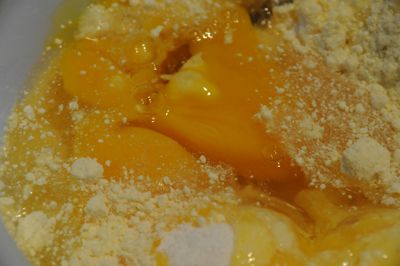
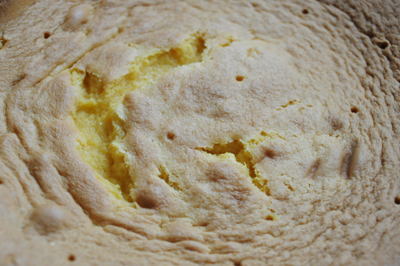
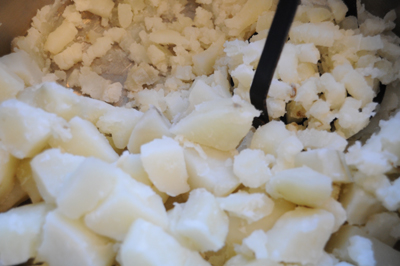
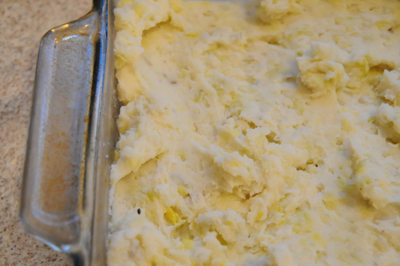
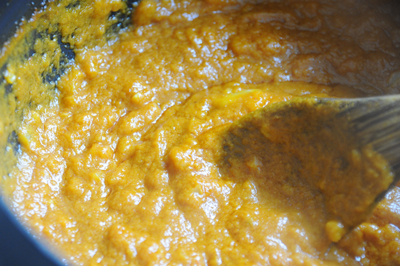
Now you should have a pretty thick paste, thicker (hopefully) than this one:
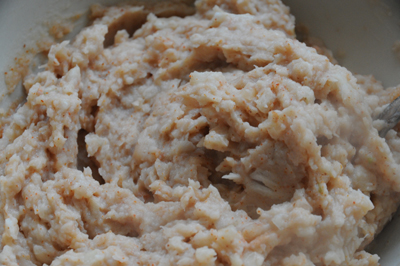 |
| Your funfun mixture should not be this wet. |
Now heat the oil over a hot flame (check to see if it's ready by dipping the non-stirring end of a wooden spoon into the oil; if bubbles rise around the end then you can start frying). Drop the mixture by teaspoonfuls and let fry until they turn golden brown, then drain on a paper towel. Serve hot. So sayeth the recipe.
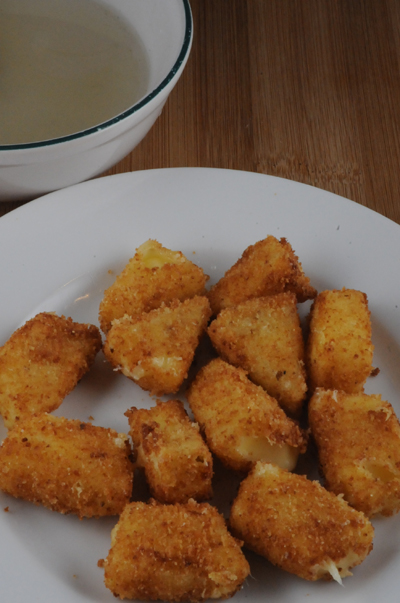
Now I don't know what would have happened if I'd got the mixture right, but when I dropped my funfun into the hot oil it disintegrated. It did not make the nice, crispy fritter the instructions had so blissfully declared that it would become. I had to scoop out the disintegrated pulp and press it in a paper towel and shape it into kind of a patty that ended up just tasting like refried beans. Really, really salty refried beans.
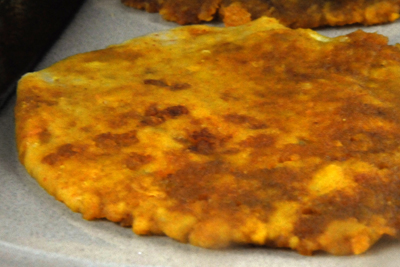 |
| Akkra no-fun. |
So would less water have at least helped them become the right shape? I really don't know. I almost feel like it wouldn't have, because the mixture had nothing to bind it together. Most fritters or deep fried whatever I've done in the past have had flour or eggs or something that helps them hold together in the hot oil. This was mostly just beans.
You know what I'd love is if someone from Benin could fill me in on this recipe ... Maybe it's just not accurate. Or maybe it is, and if I'd gotten everything right I really would have ended up with lovely, crispy golden funfun fritters. Oh well.
Fortunately, though, the funfun did not ruin the meal. Far from it, in fact. The meatballs and the rice were delicious and together definitely landed on my top five list of favorite Travel by Stove meals. And I have to say this really surprised me because as I mentioned earlier, the red palm oil really scared me. But as it turns out, it doesn't taste as weird as it smells.
I'd like to say that the meatballs were totally unique but they reminded me a lot of a pad Thai, only without the coconut milk. And I adore pad Thai. I think chicken and peanuts are a winning combination so this dish already had that going for it, and the habanero was a great touch although to be honest I might use as many as two the next time I make it, because it really didn't seem that spicy to me. My kids probably could have eaten this (though I'm fairly sure they wouldn't have).
The rice was more of the same; peanuts, tomatoes and habanero. Yum, yum, yum. And as for the funfun, well, as I said it was just very salty refried beans. Martin said it was way too salty to eat. Then he ate it anyway.
Next week: Bermuda
For printable versions of this week's recipes:
- Boulets de Poulet avec Sauce Rouge (Chicken Meatballs with Red Sauce)
- Peanut Sauce over Rice
- Akkra Funfun
Boulets de Poulet avec Sauce Rouge
Read more at Celtnet: http://www.celtnet.org.uk/recipes/miscellaneous/fetch-recipe.php?rid=misc-boulets-poulet-sauce-rouge
Copyright © celtnet
Read more at Celtnet: http://www.celtnet.org.uk/recipes/miscellaneous/fetch-recipe.php?rid=misc-boulets-poulet-sauce-rouge
Copyright © celtnet